
After Installing and Activating the plugin and connecting to Intercom you would need to configure it.
To configure, please follow these steps below:
There is a field Subscription Type. You can either set it as User or Lead to register the new user with the selected type.
- User – This is the standard way of recording your subscribers. A User is the one who signed up for your product or you want to send the updates to them.
- Lead – It is quite similar to Users, just with less involvement. When you select this option they are just Leads and not yet become Users or signed up for your product.
You can learn more about Users and Leads here. Most of the times setting it to User will work fine.
There is another field which is Enable Consent Checkbox. Check if you want to show a consent checkbox on the form.
There are a set of fields for Company info integration. Check the Enable Company Field checkbox to enable company selection dropdown. If you want to be able to add companies to that dropdown (optional), create a new page and put this shortcode:
[mplus_intercom_subscription_company]
Then select the page on Company Registration Page field under the settings. Setting a page on this field will show a link to create a company, similar to this:
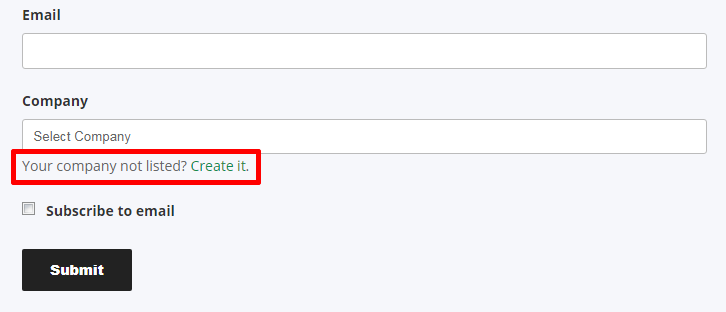
Clicking the link will take the user to a page for creating a company on Intercom, similar to this:
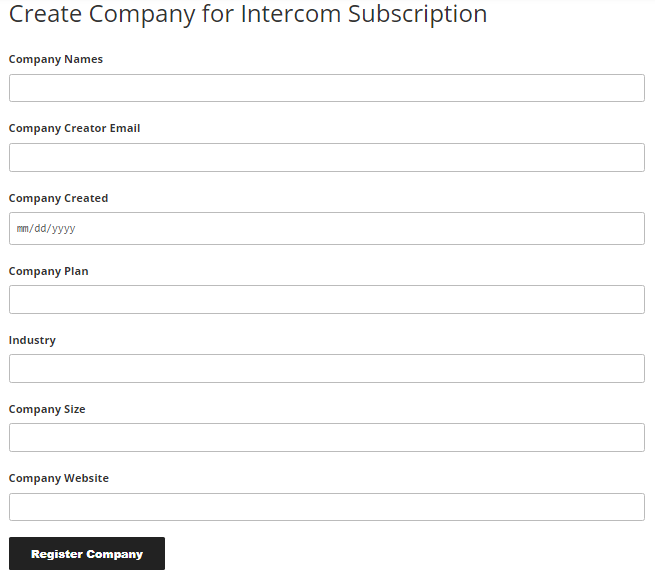
You can fill up the required fields and submit this form. Your company should appear under Intercom Dashboard – Companies. Your users can now select the company as a company of their choice.
There is another field which is Enable Spam Protection. Check if you want to enable honeypot spam protection for forms.
There is another field which is Enable Live Chat. Check if you want to enable Intercom chat in your site.
Step 2: Putting the form on a Page or Post
There is a shortcode in the plugin which lets you show the subscription form on your page or post.
Go to Edit option of your page or post of choice. Then add this shortcode in the body where you want the form to appear:
[mplus_intercom_subscription]
Note: If you are using Visual Composer to edit the content, please do not use the shortcode inside Raw HTML block, as it may conflict with the layout of your website. Please use any other kind of blocks, such as, Text Block or WP Text Block, whichever works for your theme.
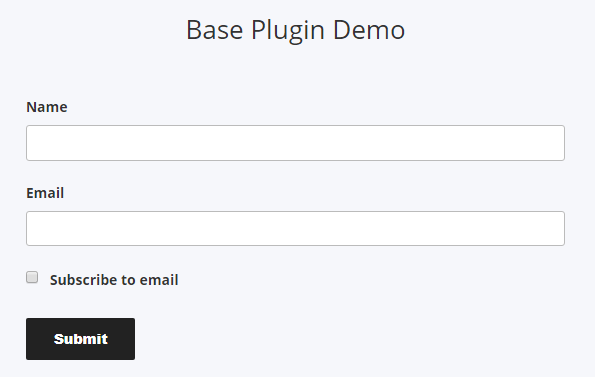
Then Publish to see the form on that page or post.
You can style the form as you like from your current theme’s style.css. Although, it is recommended to create a child theme if you haven’t done so and then put the style changes on that child theme.
You can help yourself or contact us for anything related to customization.