
After you have installed and activated the Contact Form 7 Intercom Add On, you would need to follow these steps:
1. Create a Contact Form in WP Admin – Contact – Add New, if you have not done it yet.
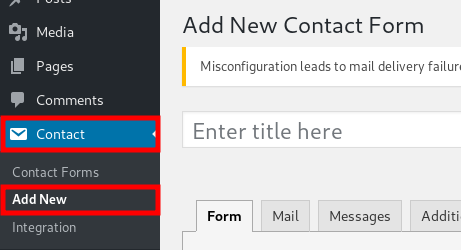
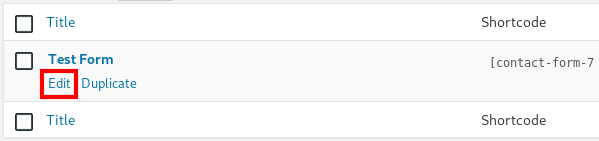
2. Go to the Edit page of that form.
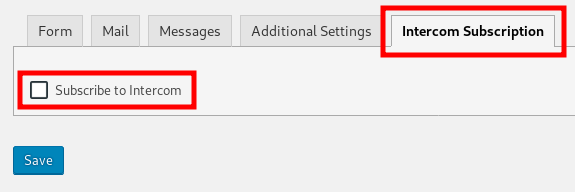
3. On the Edit page, go to Intercom Subscription tab and check the Subscribe to Intercom checkbox. This will bring you lots of new options.
4. In the Subscription Type field, select either User or Lead.

5. Then below this field you will see the fields you created for the form. For a minimal setup, you can set the attributes like this:
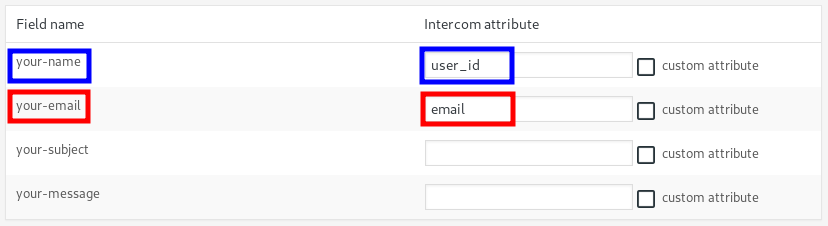
The field containing the email should be set to email and the field which will have the identifying information for the user should be set user_id.
Find your appropriate field to link it with the appropriate attributes (if any). You can set these attributes which are default in Intercom:
- user_id
- phone
- id
- signed_up_at
- name
- last_seen_ip
- custom_attributes
- last_seen_user_agent
- companies
- last_request_at
- unsubscribed_from_emails
- update_last_request_at
- new_session
If you have some custom attributes created on Intercom, you can also put them. In that case check Custom Attribute checkbox next to the field.
If you can’t see your field on the list, you would need to Save the form first, then try again.
6. Save the form.
Company Integration with Intercom
You can add a Company field that will show a drop down containing all the registered Companies in your Intercom account. When a user fills in the field, he will be listed under that company on your Intercom Dashboard. It makes it easier for you to group and manage your users.
This is totally optional and you may use this only if your website needs it. To add this field, just place your cursor where you want the field to appear, then click the Company button from the toolbar.
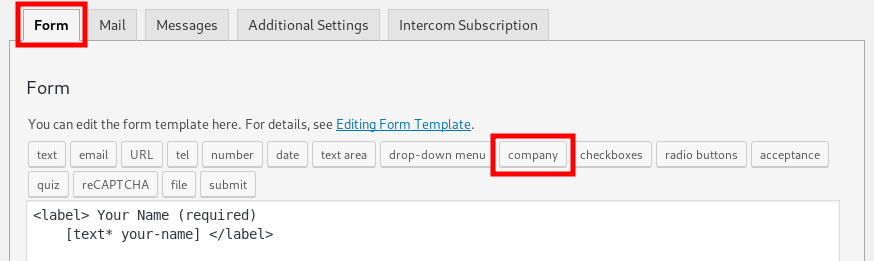
A popup will appear with options for the field to be created.
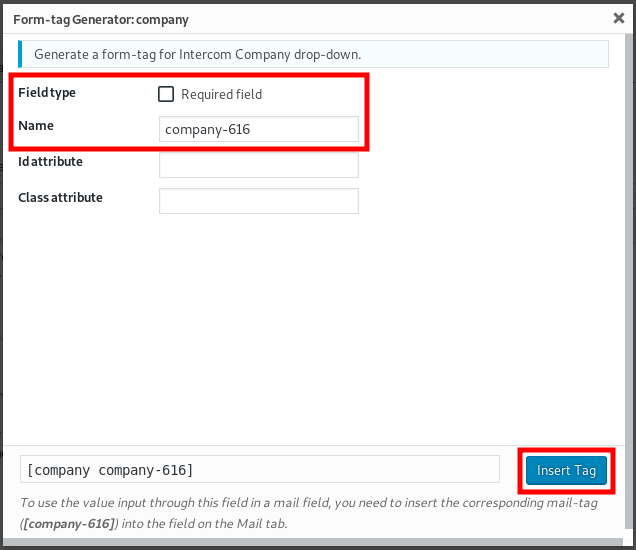
A Name will be filled out automatically. You can also check the Required checkbox, if you want it to be a required field. You can also fill in the class and id fields if necessary. Then click the Insert Tag button. This will create a code like this:
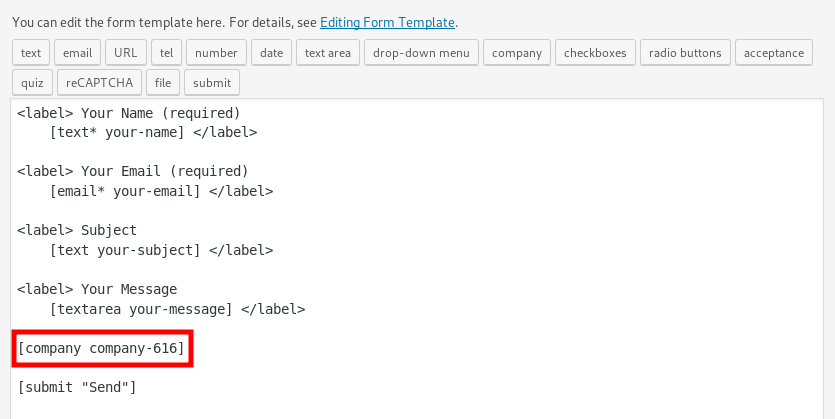
Optionally, you can also wrap around the field codes with a <label>…</label> tag to attach a label to the company field. Something like this:
<label> Company
[company company-616] </label>
After you made your changes to the form, click Save.
For your users on the frontend, it will display a field similar to this:
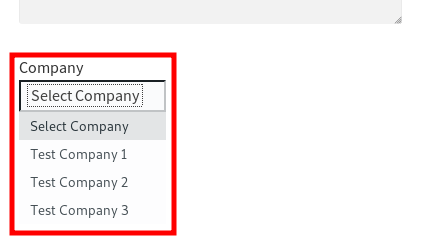 Now test it as necessary.