
Please note that you would need to have the Base Plugin installed and configured in order for this extension to work.
After you have successfully installed the plugin, you can configure the plugin to ensure that it works.
To configure the plugin properly, go to WP Admin – Downloads – Settings – Intercom Subscription.
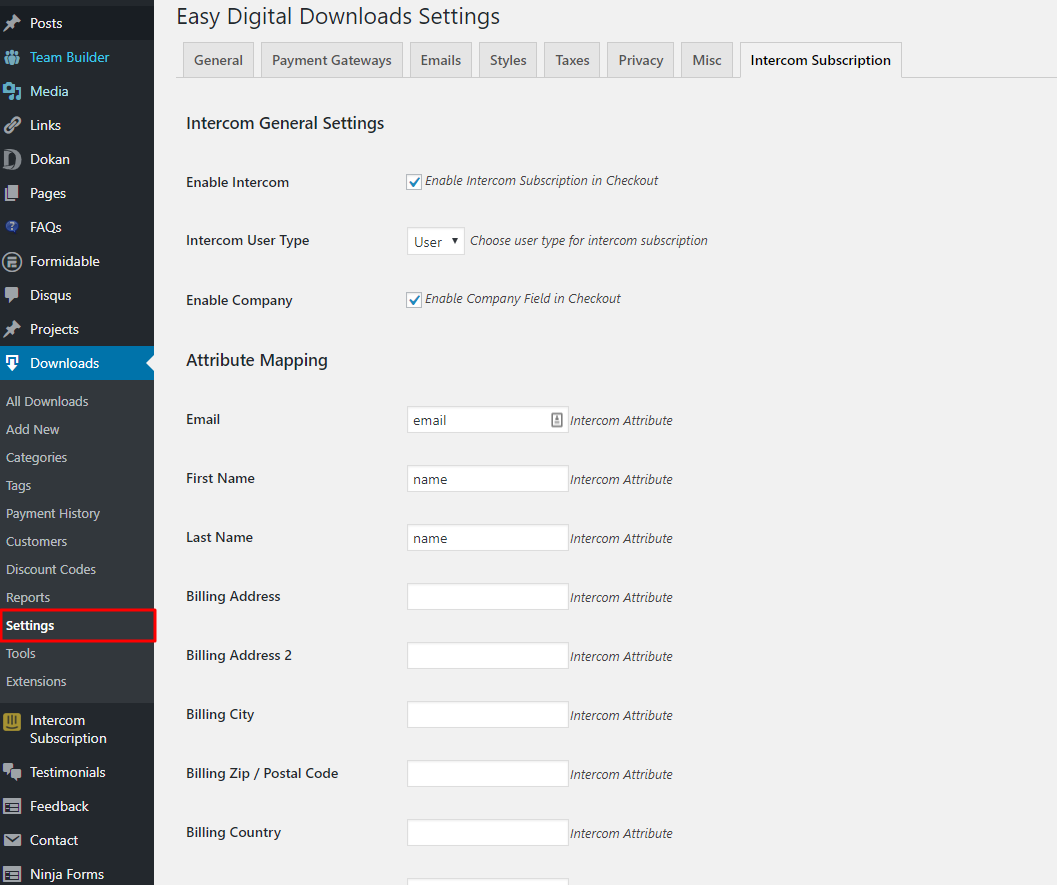
- Enable Intercom: Check or uncheck this to enable or disable the subscription to Intercom.
- Intercom User Type: The user type which will be set for the new user subscribed. Select User or Lead. If you are not sure which one to choose, see this page for help. For normal cases selecting User is fine.
- Enable Company: You can enable the company field with this option. If enabled, a drop down will be added to Checkout page containing all the registered companies in your Intercom account. This option is totally optional. If used, it makes it easier for you to group and manage your users.
- Attribute Mapping: You can map the checkout field values to be filled as some attribute value in Intercom. You can use any attribute name from Intercom.
Note: name and email attributes will be treated as normal attributes. Any other attribute name would be treated as custom fields.
At last, click Save Settings to save the changes you made.
Note: The settings are site-wide. So enabling and configuring once should enable Intercom Subscription for all EDD Downloads.