After installing the plugin, you can configure it to work with your form. You can configure the form with Intercom on a per-form basis.
To configure, follow these steps:
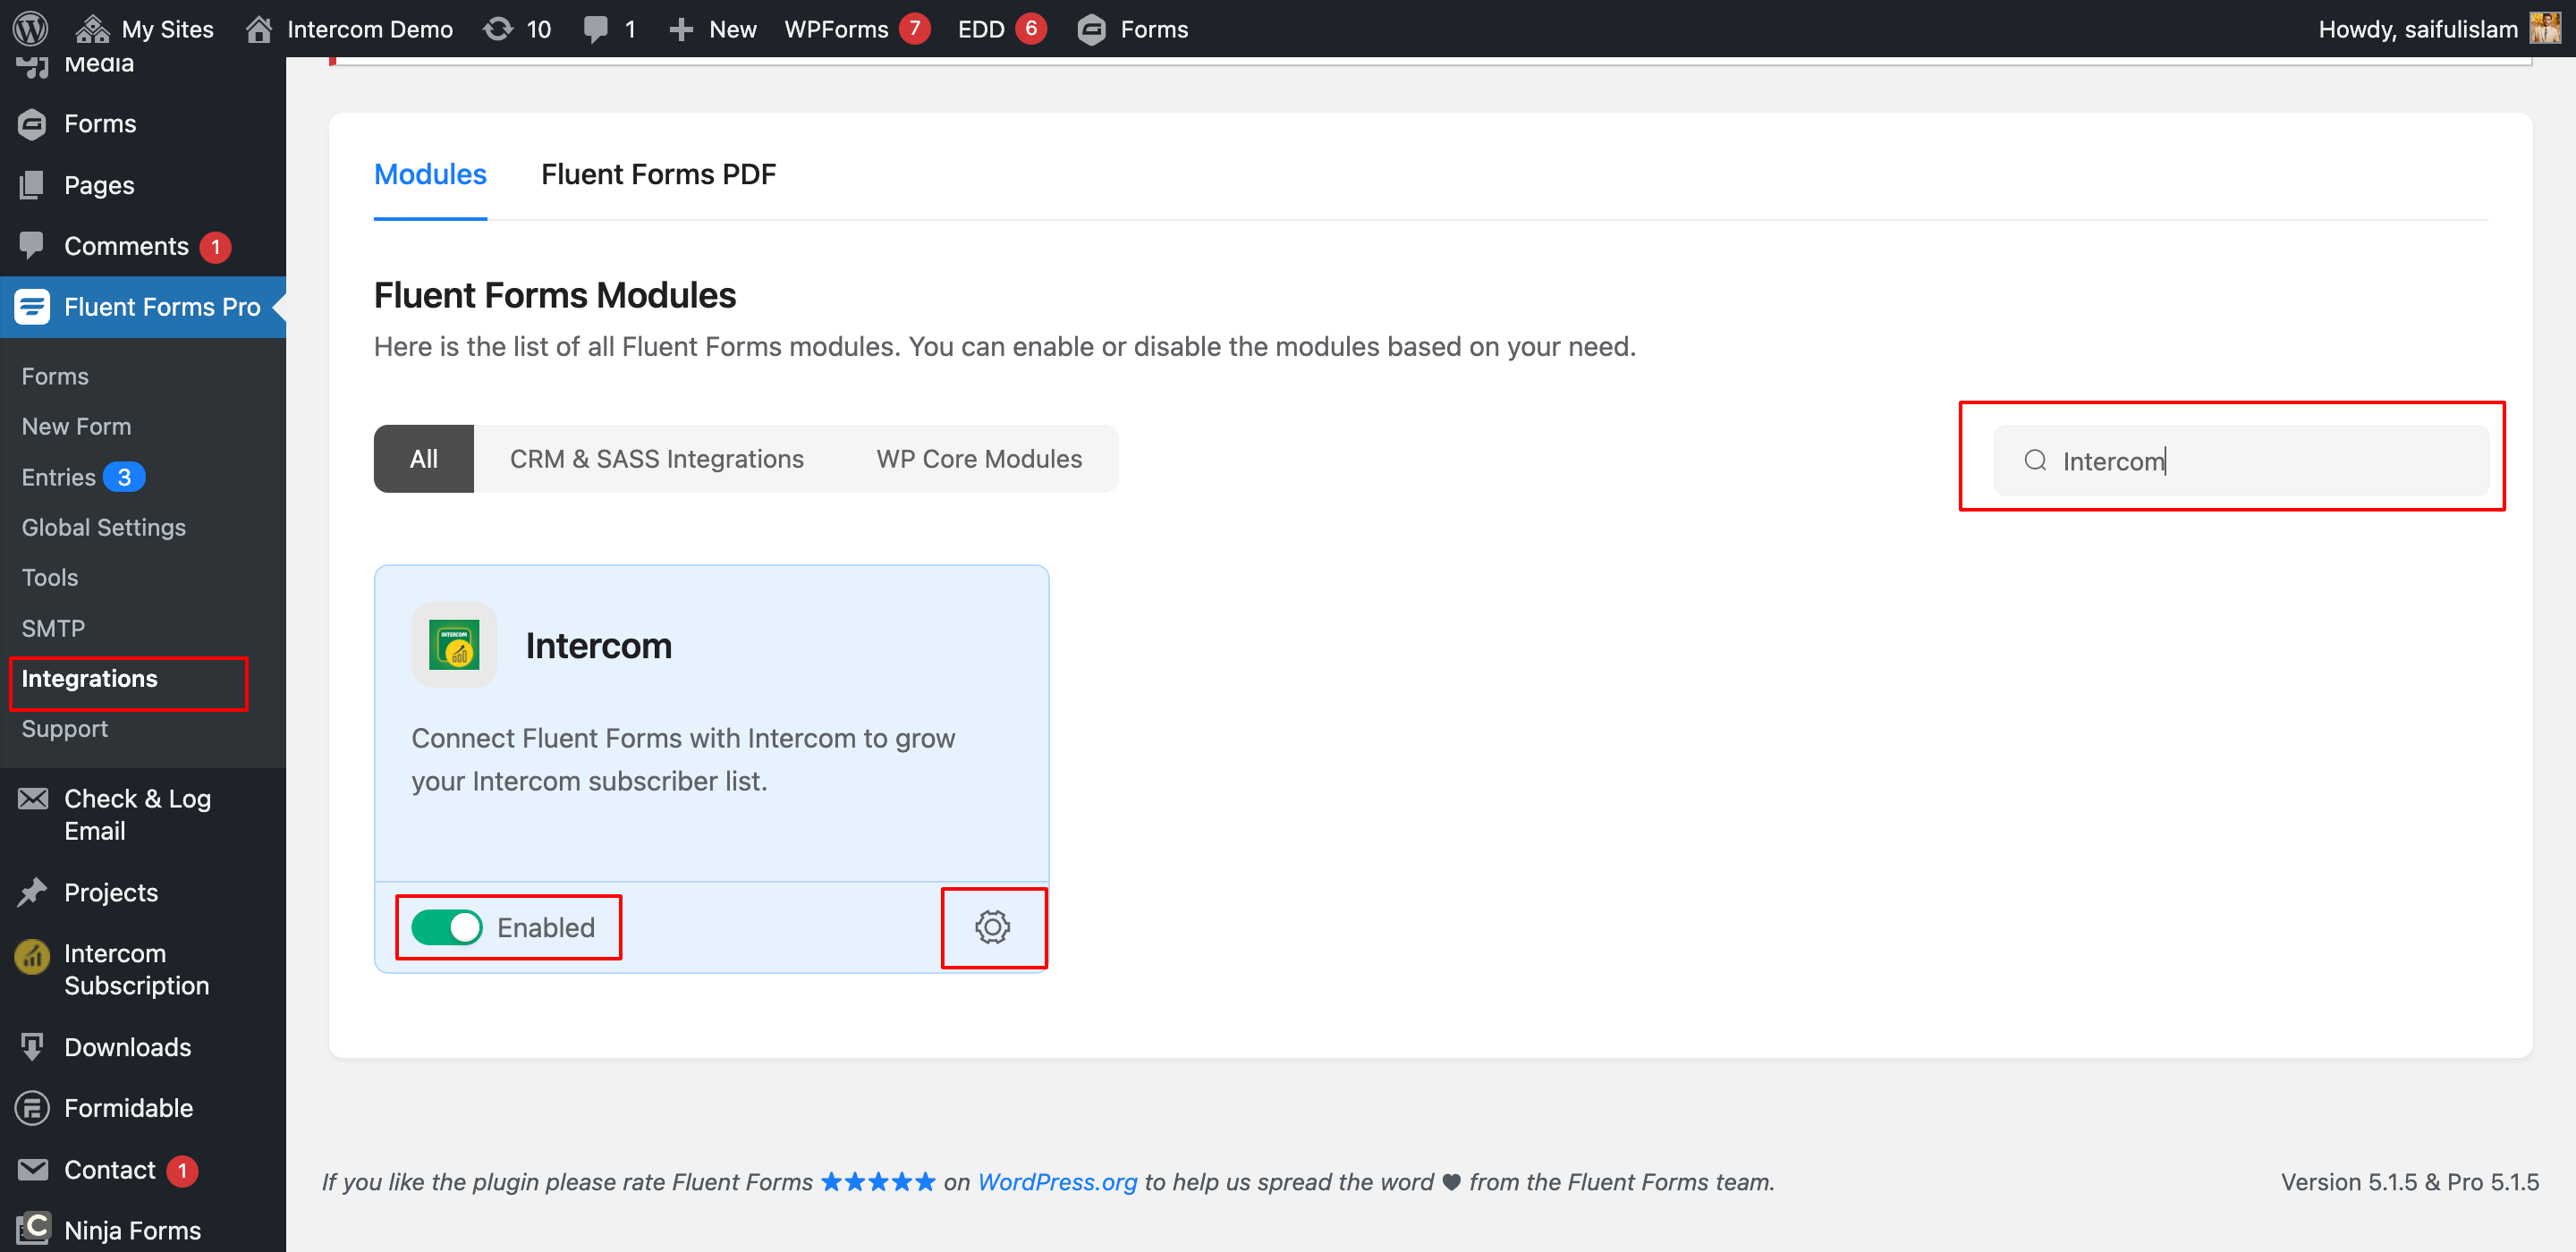
- Navigate to WP Admin > Fluent Forms > Integrations. Then search Intercom, and you will see the Intercom module. Click the Enabled button to enable the Intercom module. After the enabled module, you see the global settings icon. Click the global settings icon to configure the global settings.
- Click the Enable Intercom Integration button to enable the Intercom integration for Fluent forms.

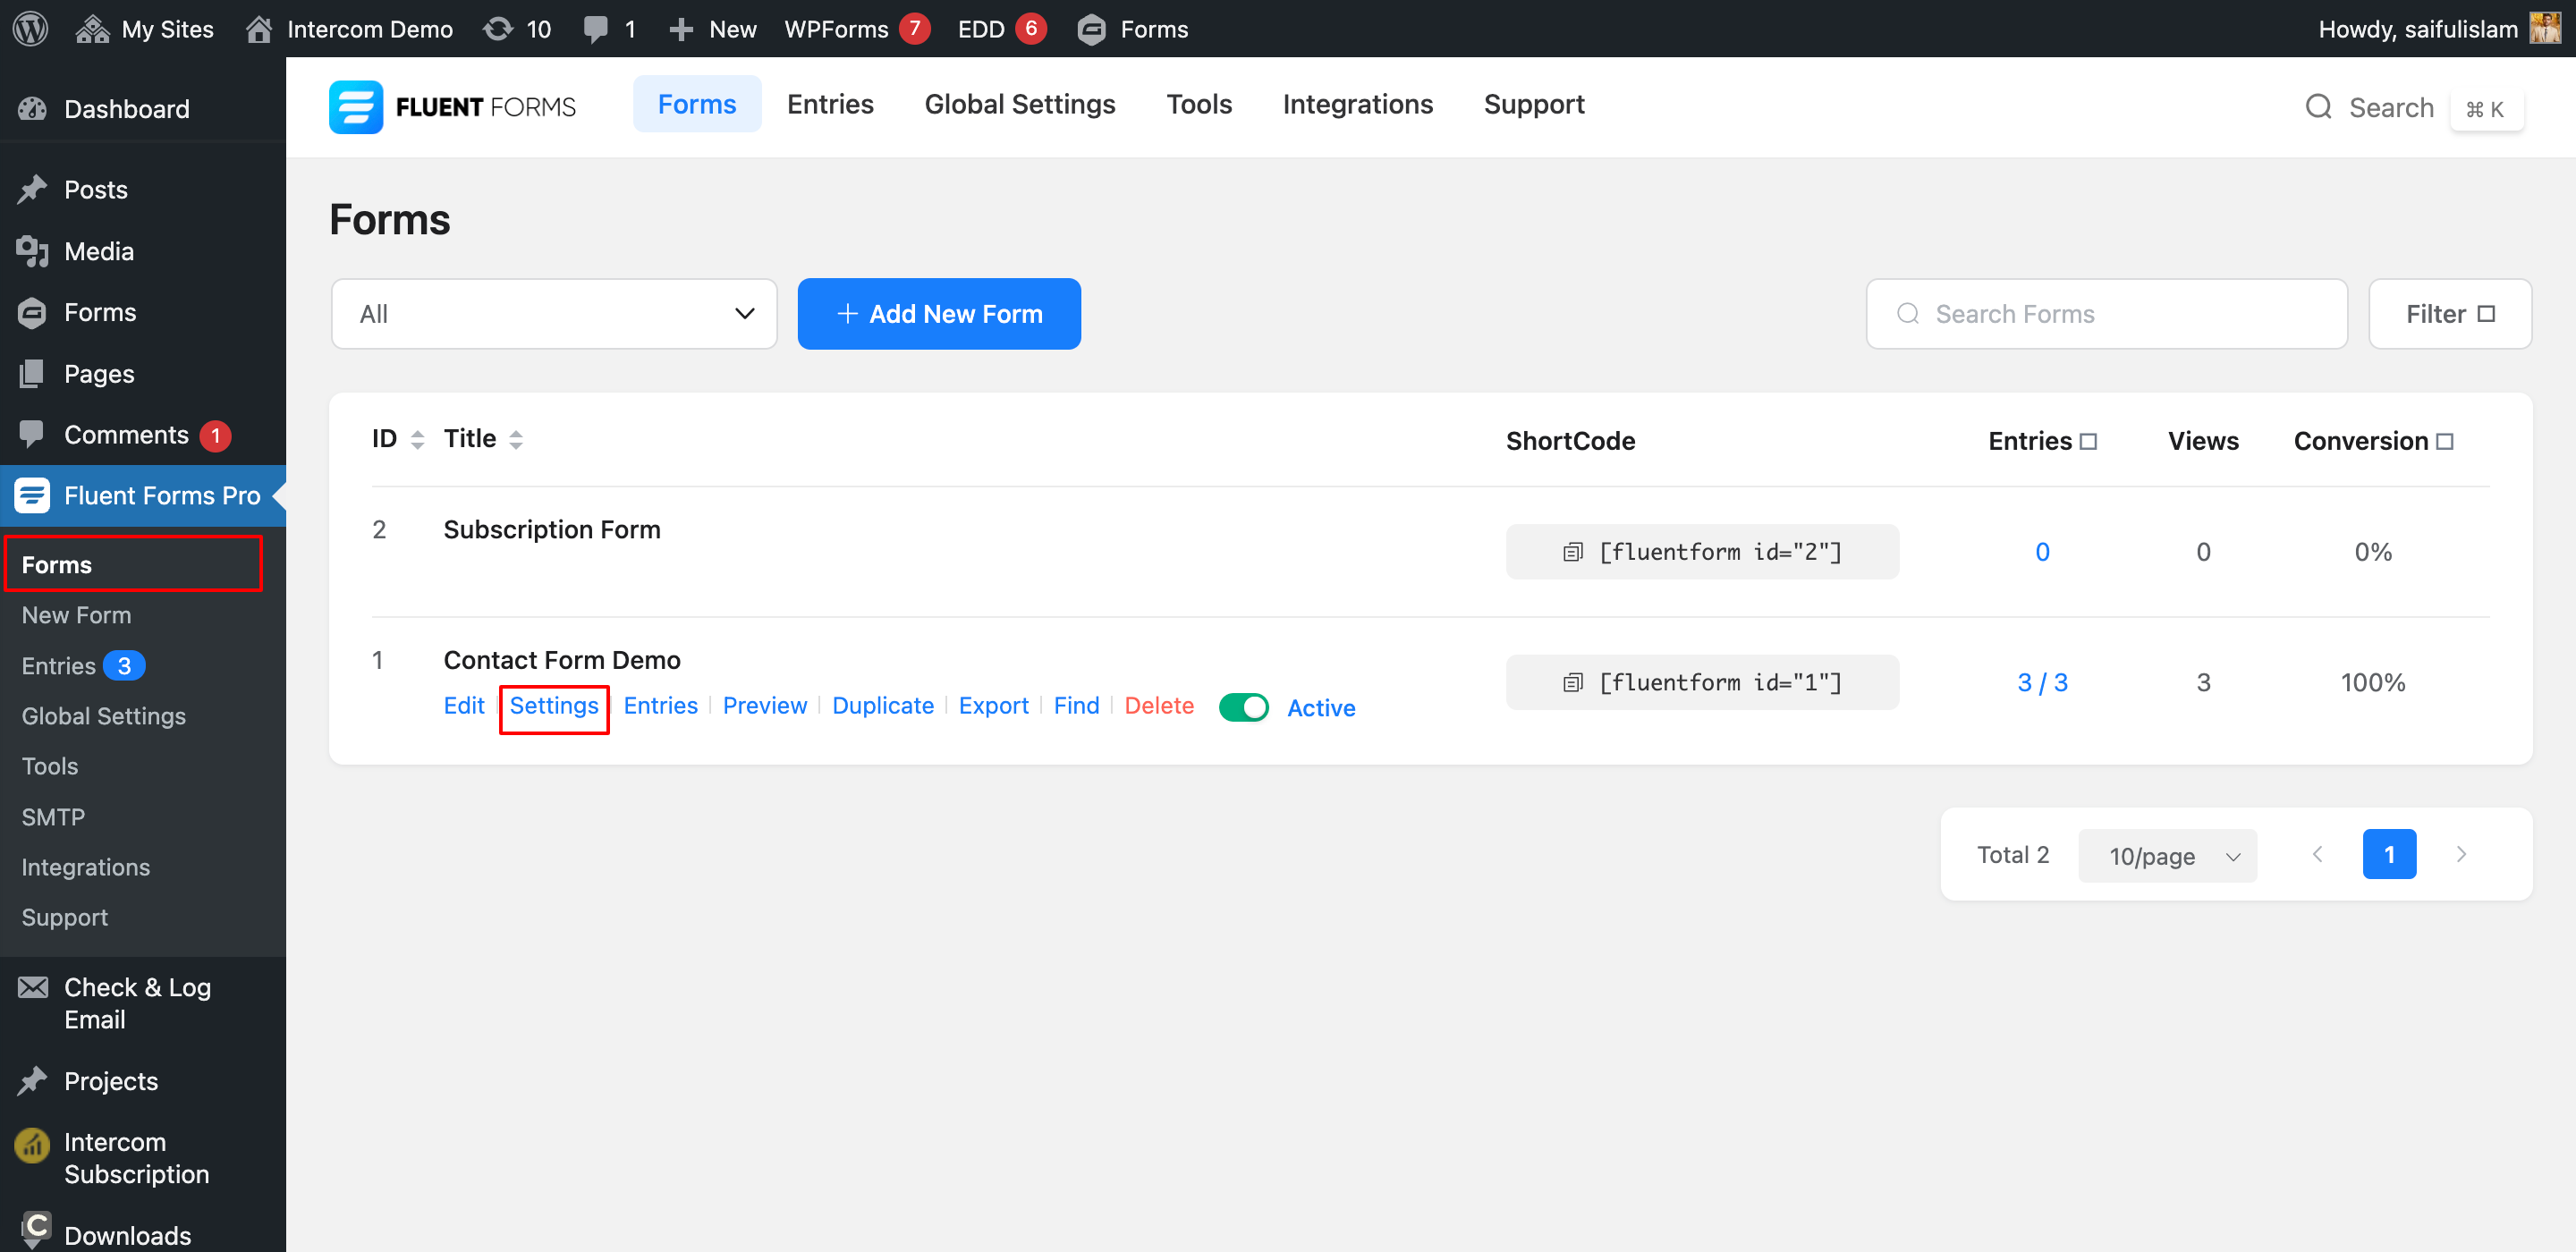
- Create a Fluent Form for which you want to integrate the Intercom Subscription functionality. Then go to Form Settings.
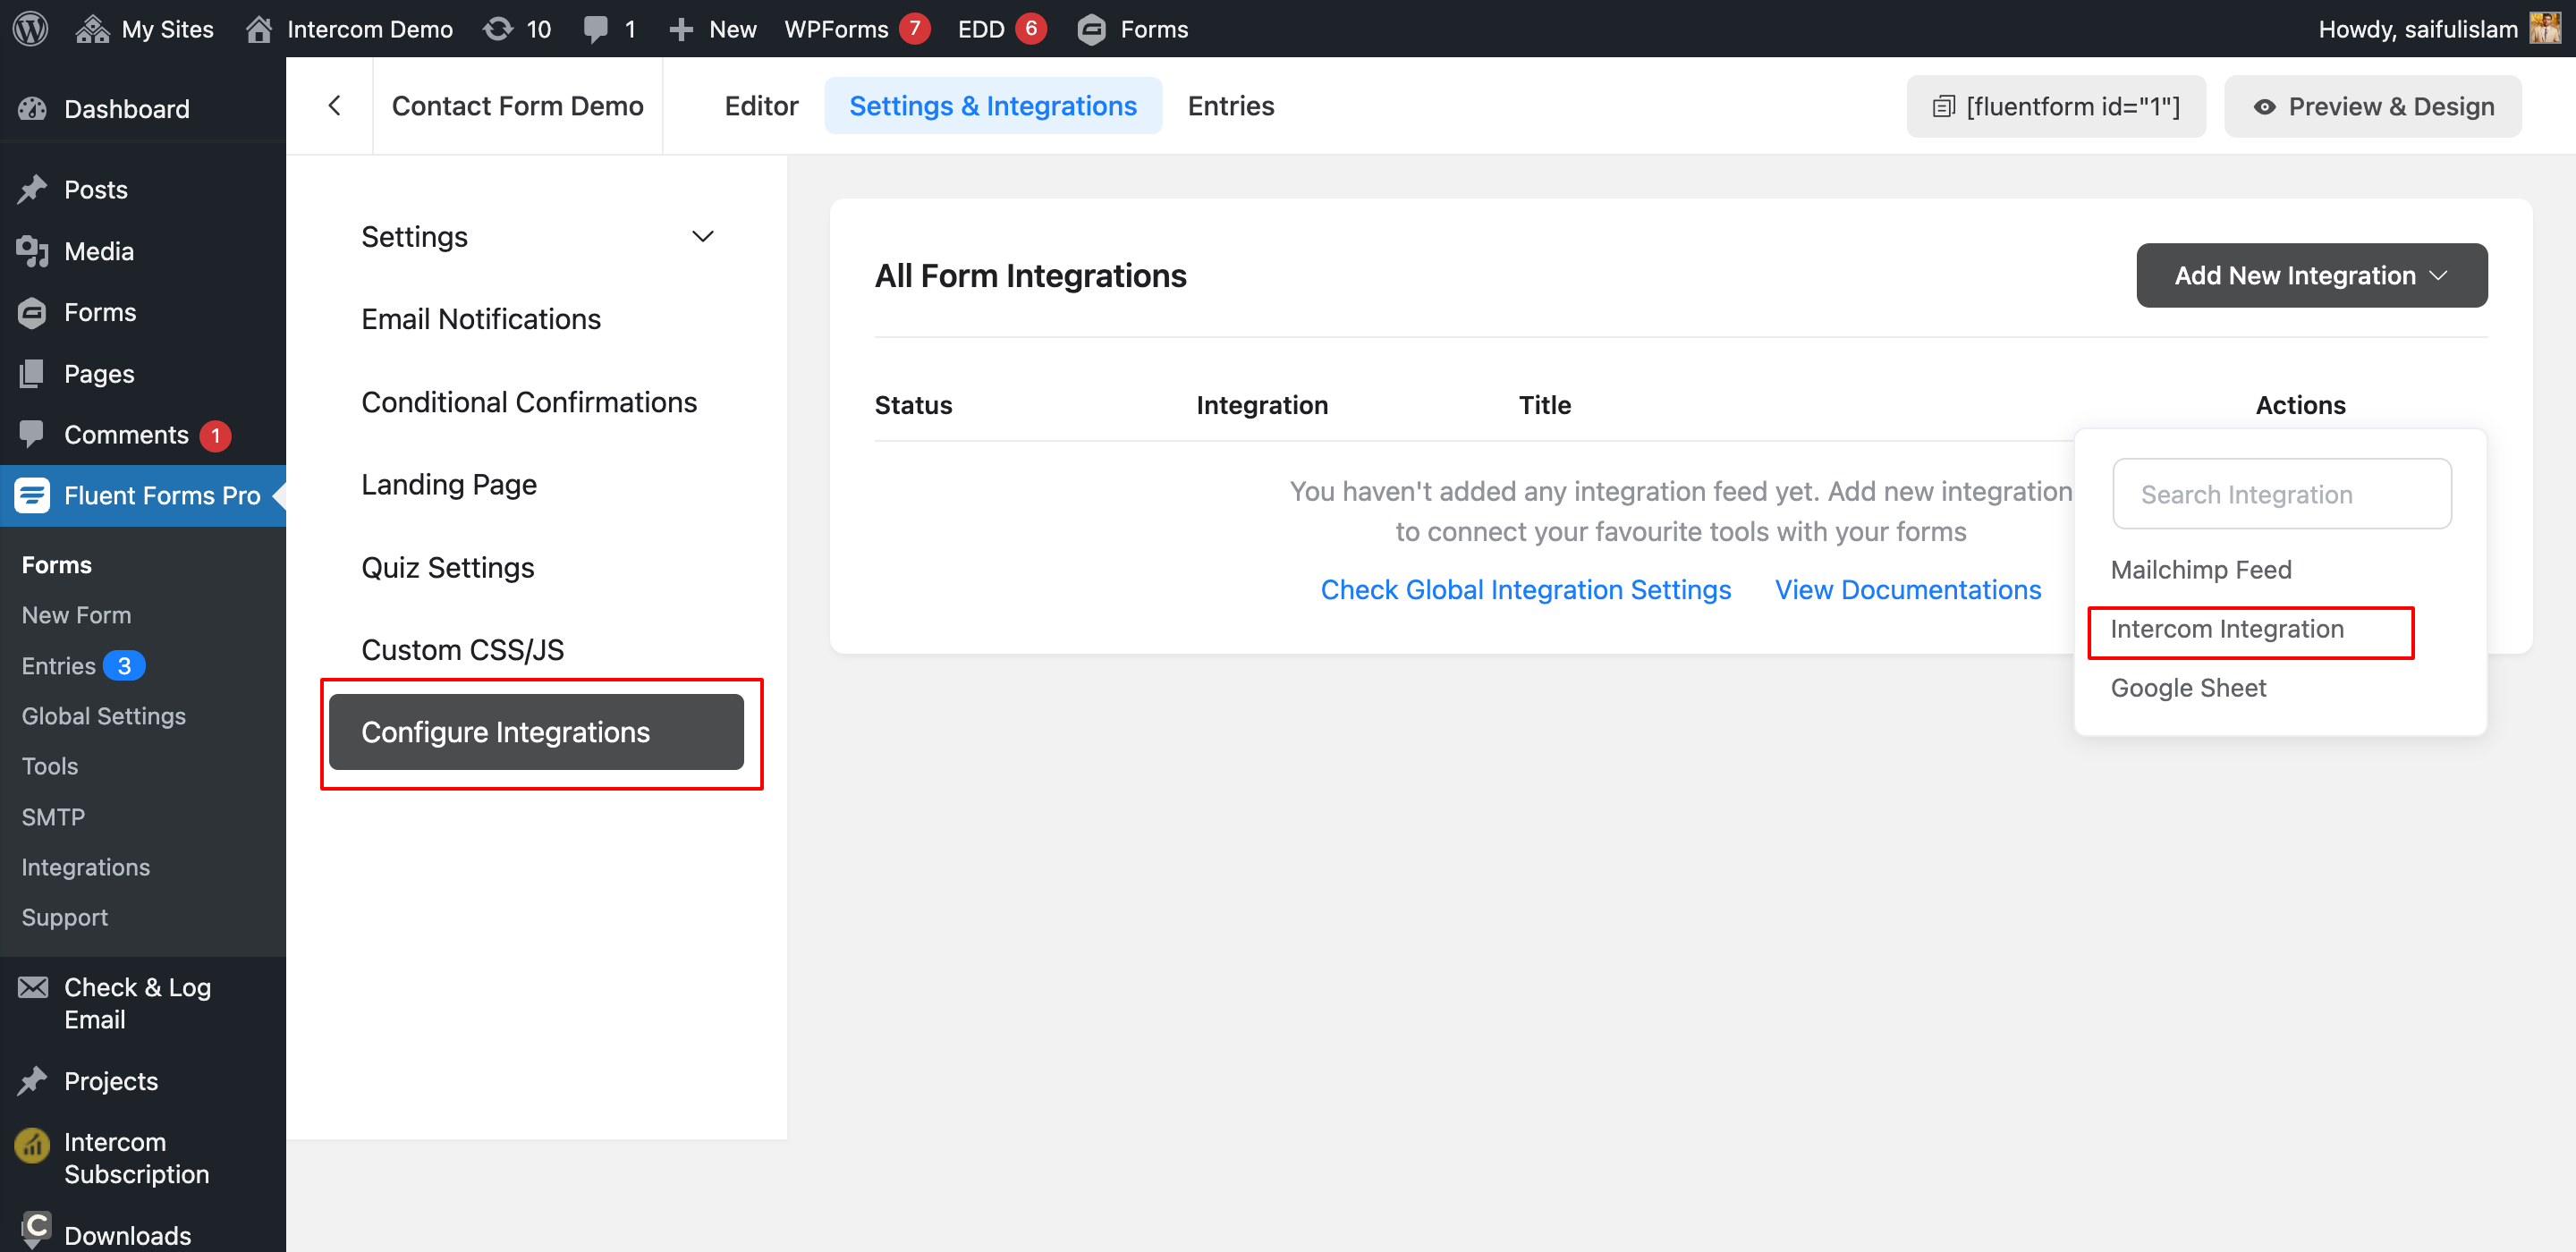
- Go to the Configure Integrations tab and click the Add New Integration button, then select Intercom Integration. A new settings page will open
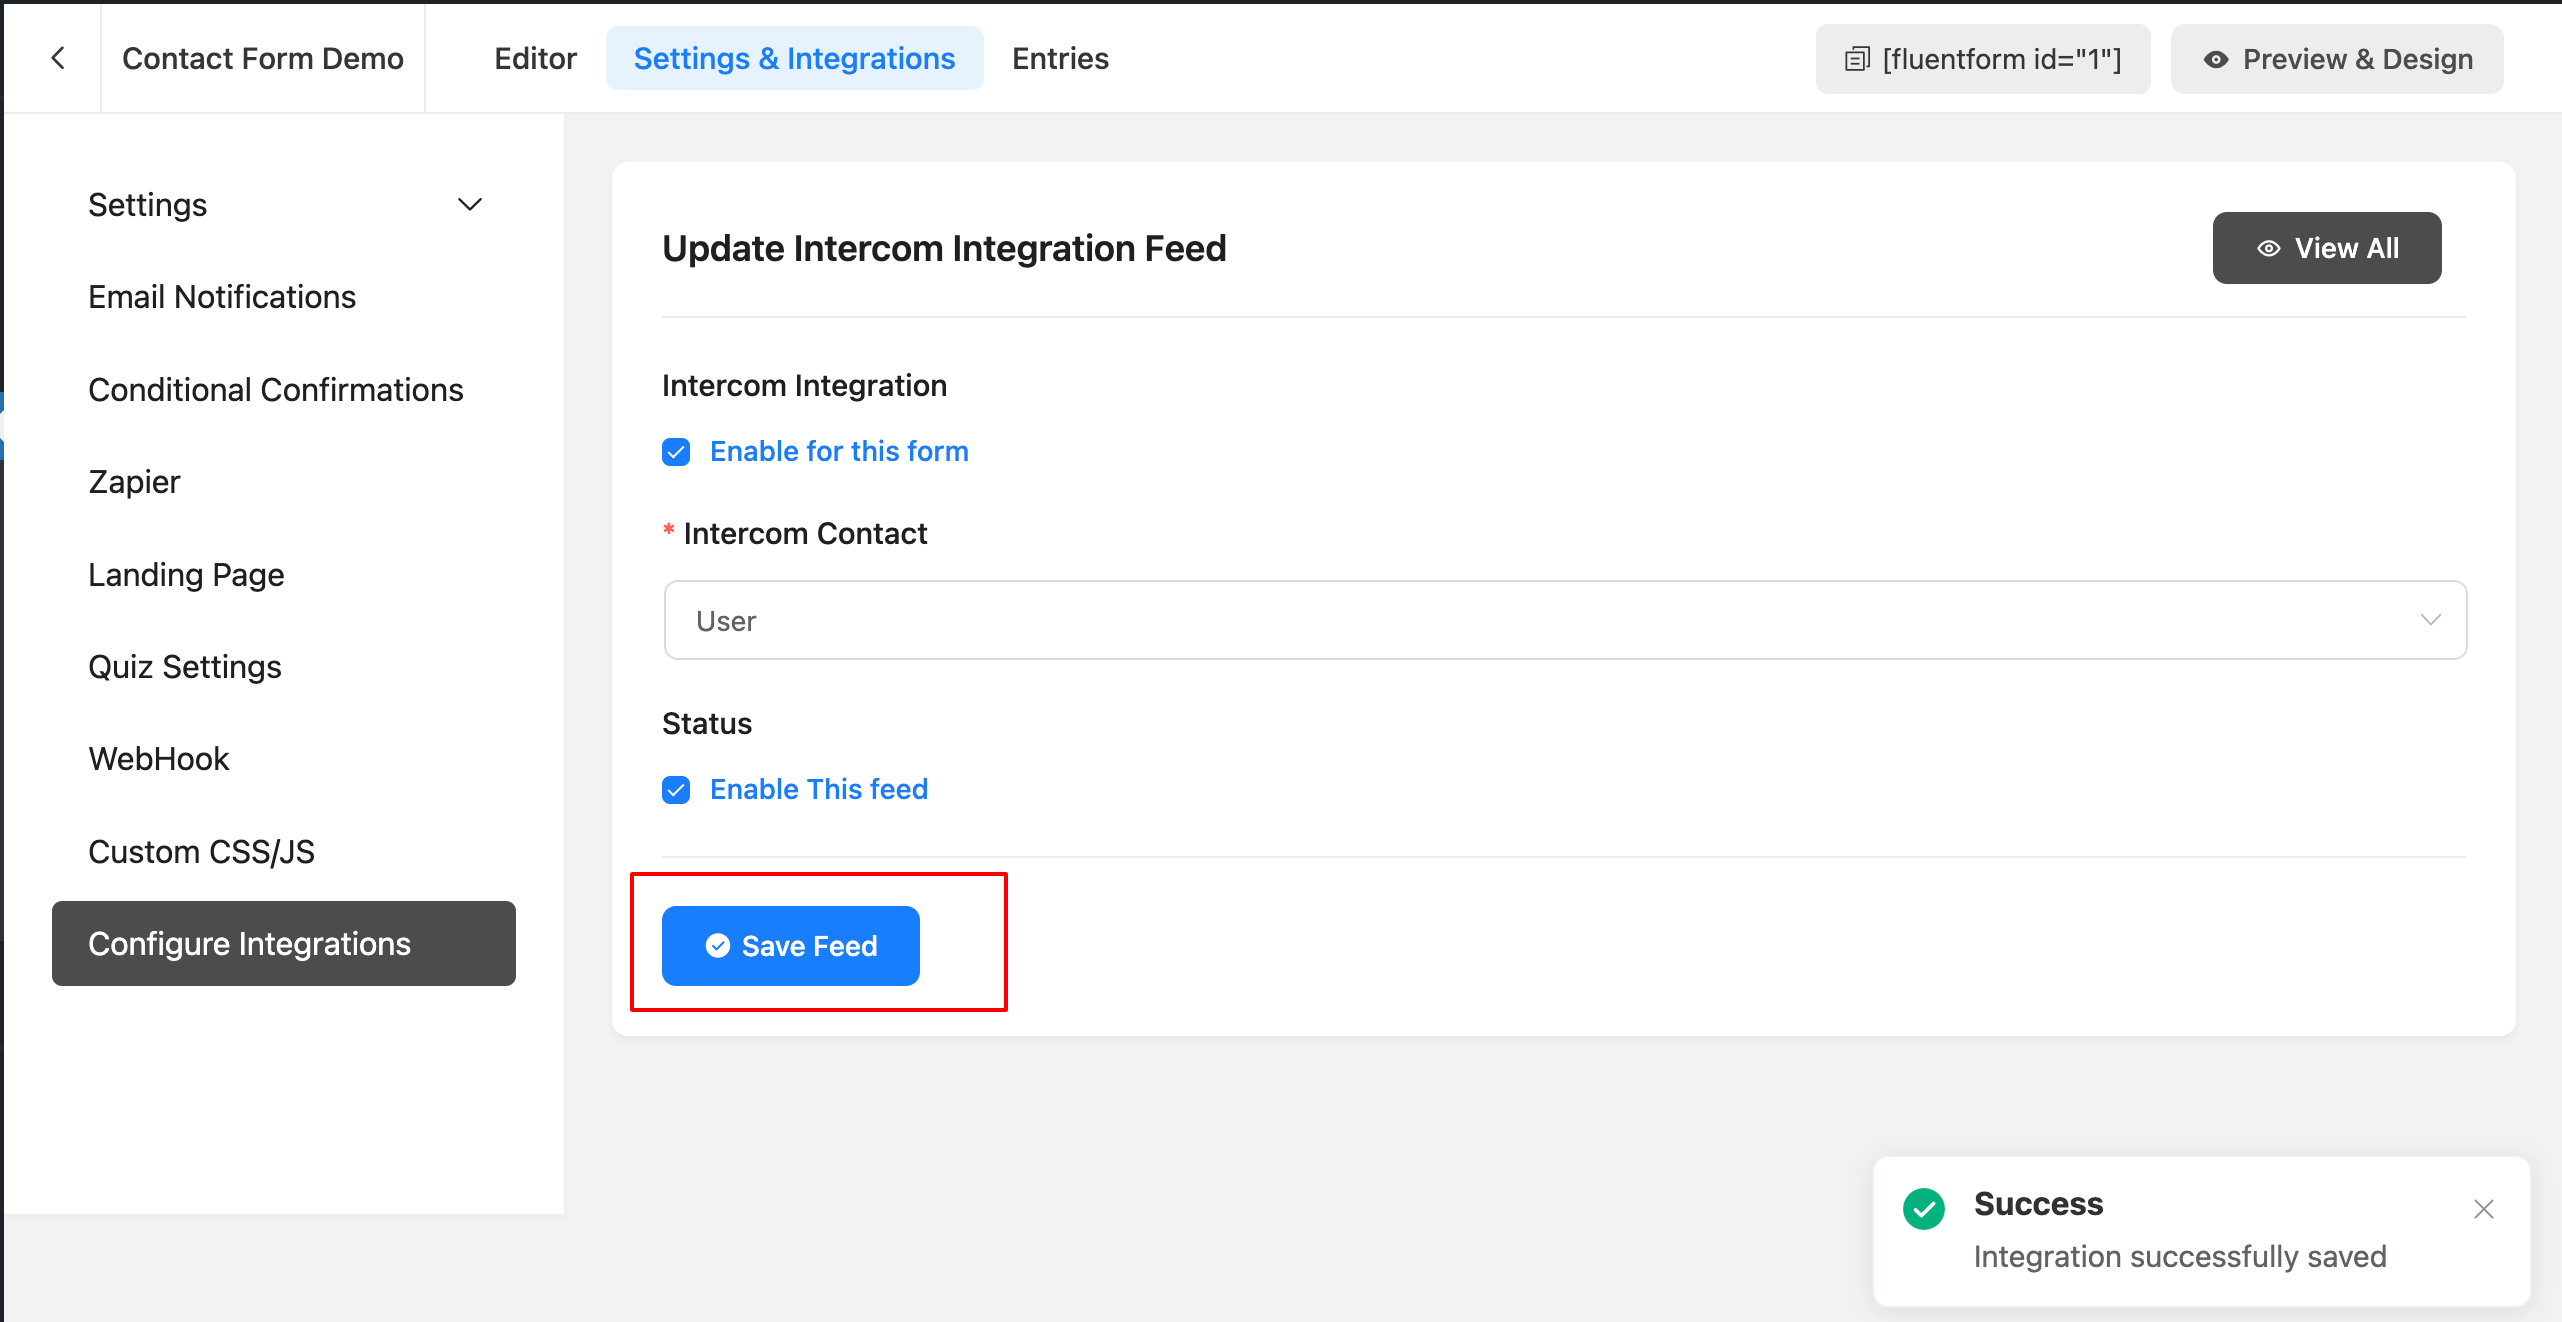
- Check the Enable Intercom checkbox to enable Intercom Subscription for this form.
- Select either User or Lead in the Contact Type field. (If you are not sure which one to choose, learn more here.)
- After you are done changing settings, click Save Feed to apply the settings to the form.
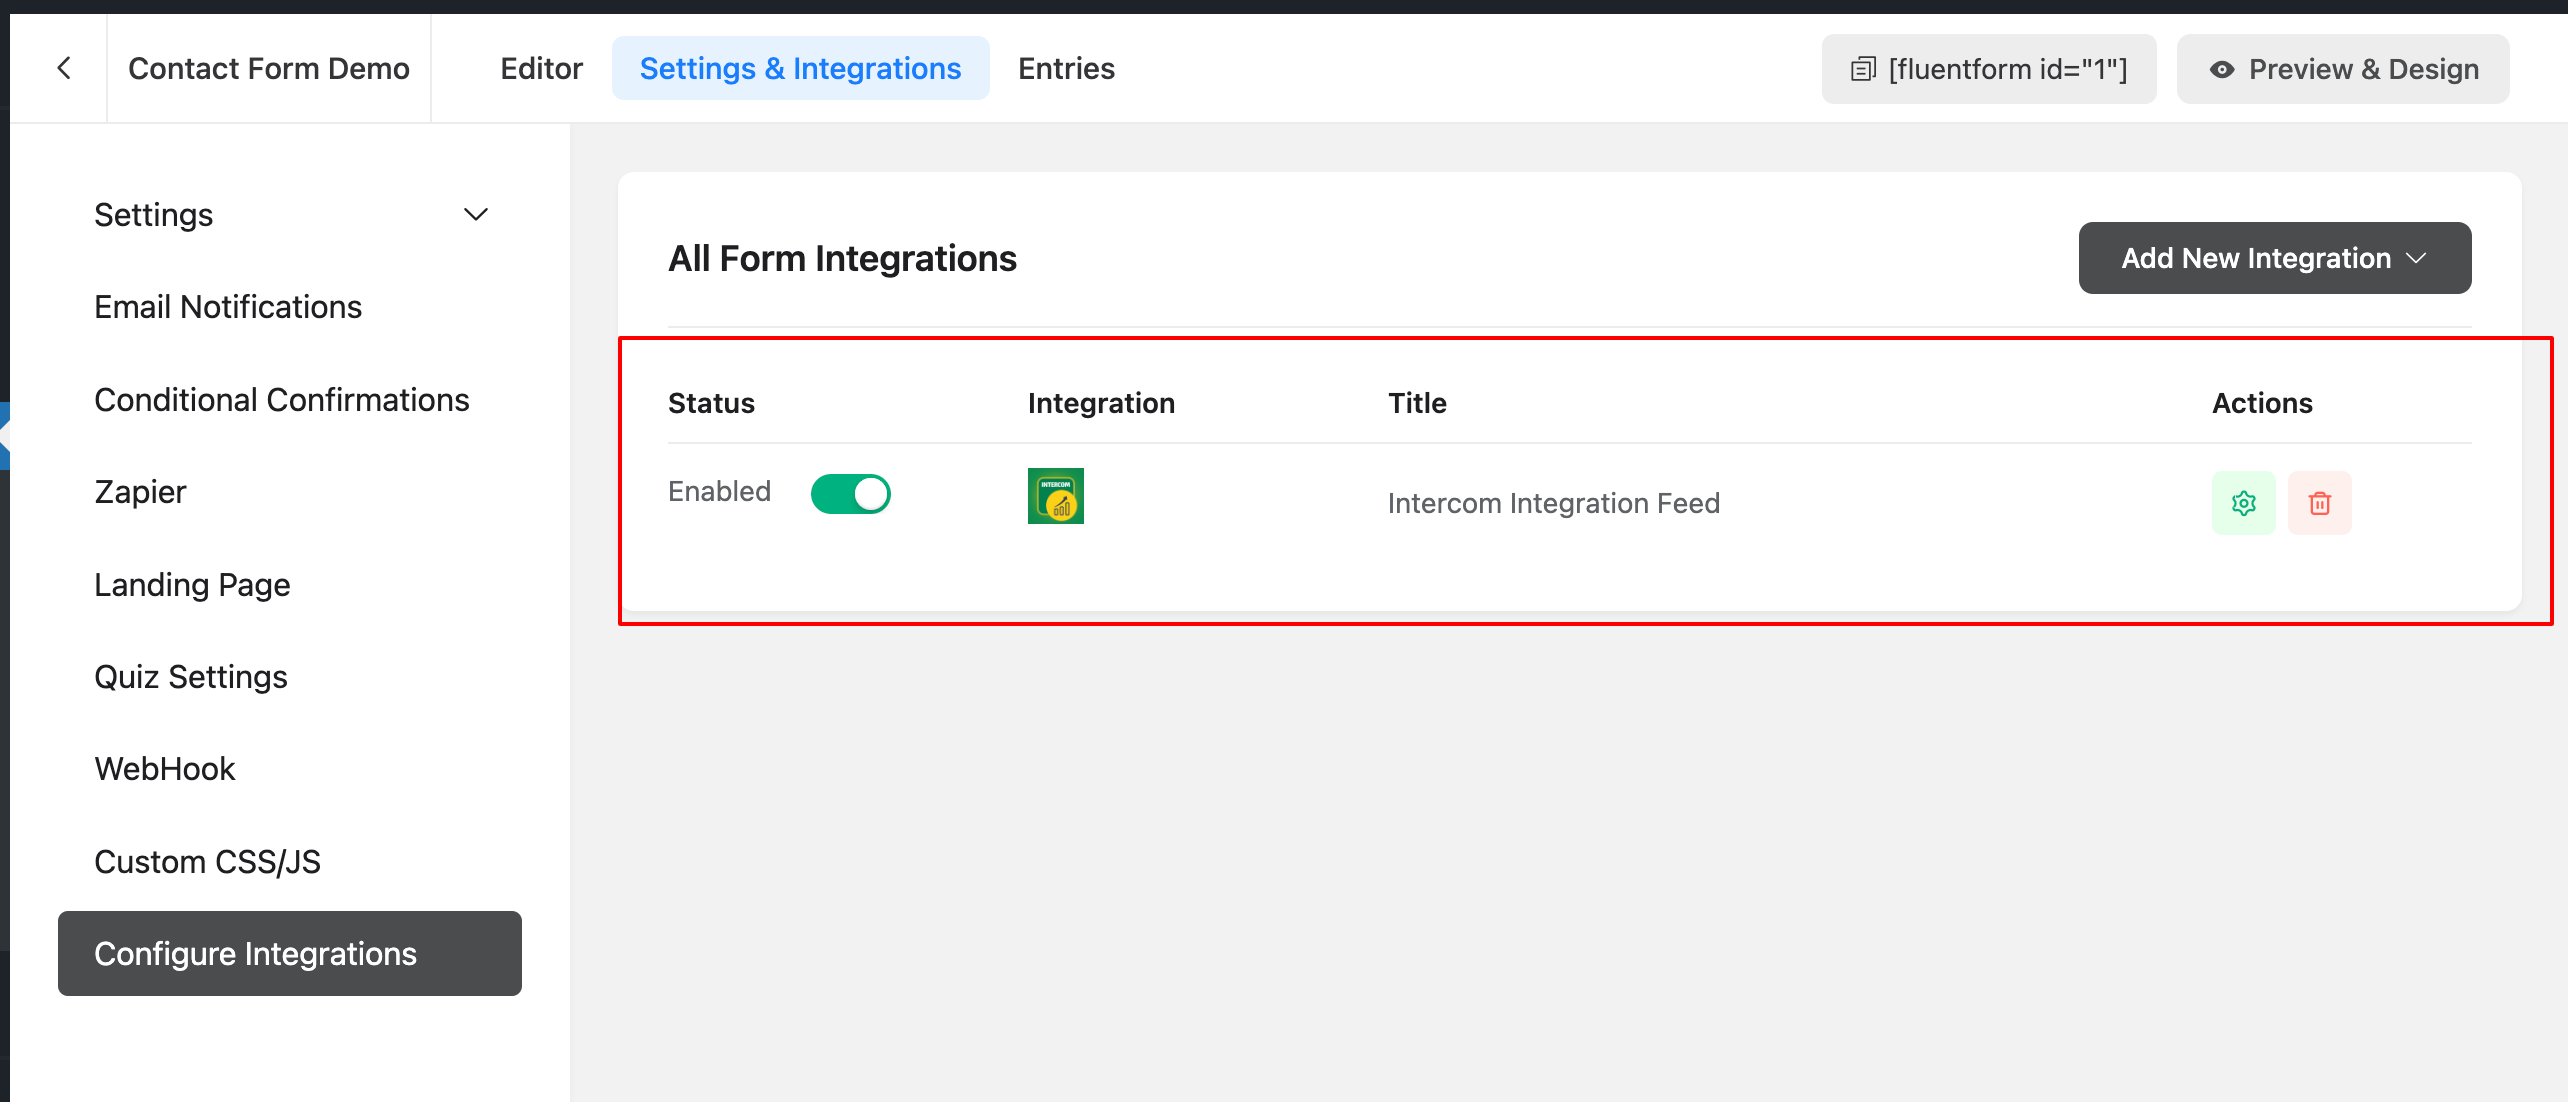
- You will see Intercom Integration added to this form.
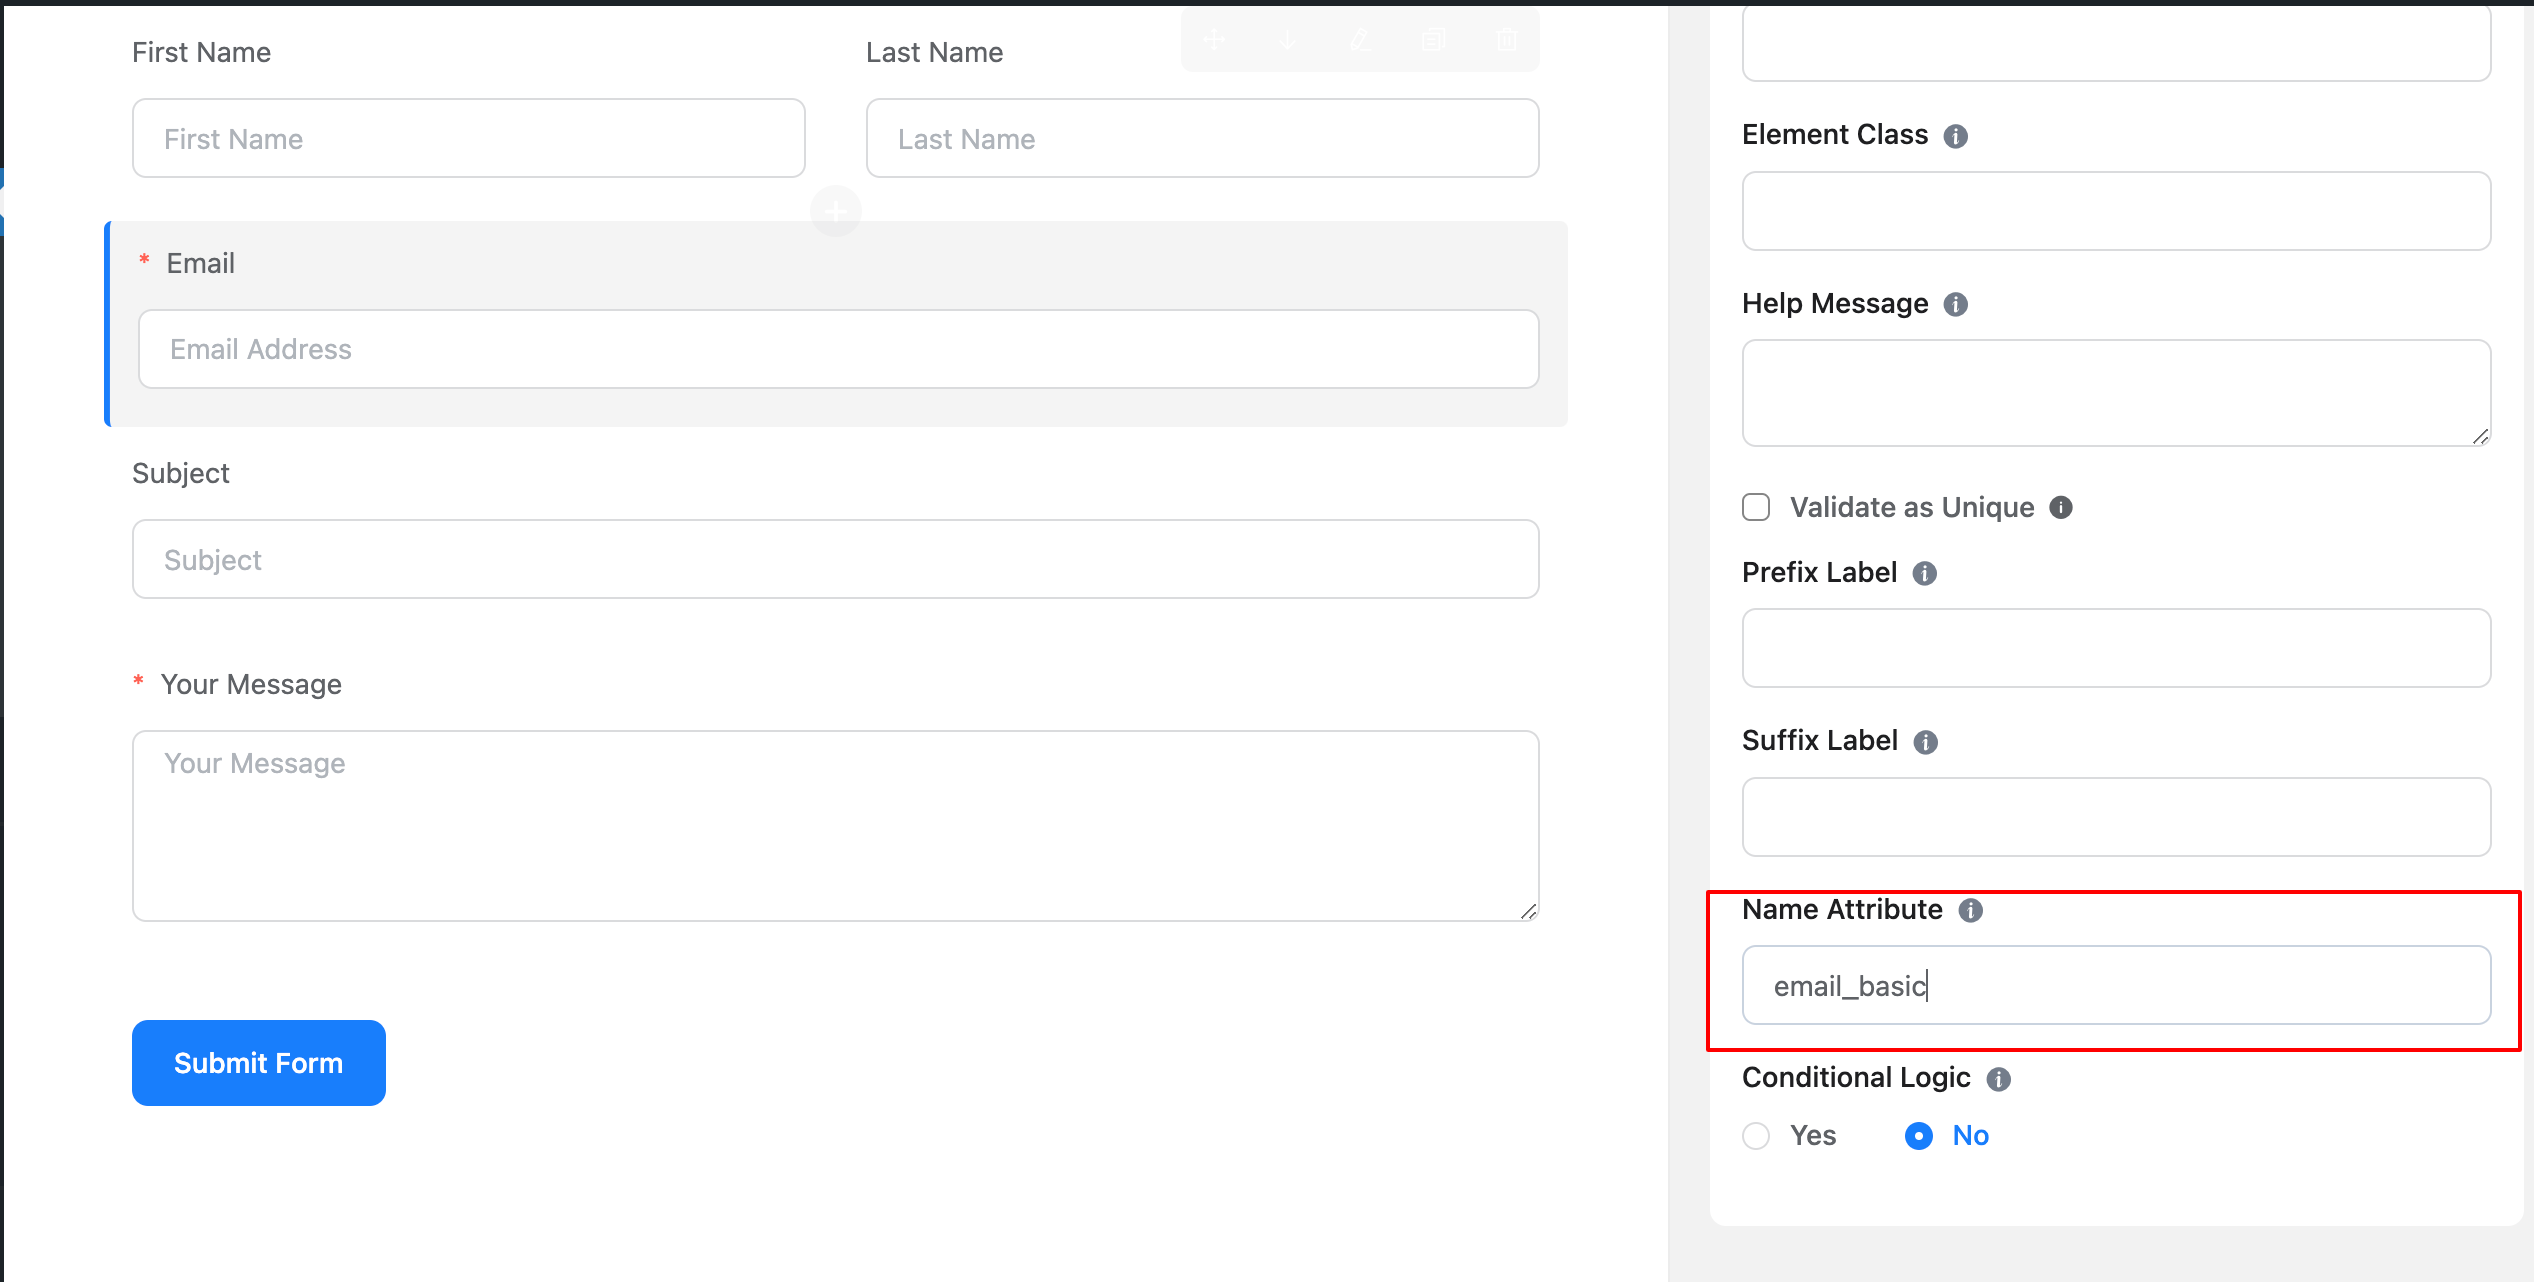
- If you already have some fields added, you can click on the field, and you will see the field options.
- Then go to the Advanced tab and fill in the field Name Attribute. This is the main part of mapping the intercom attributes and Fluent Form fields. The field Name Attribute will have the extra options _basic or _custom. If the form field is an Intercom basic attribute field, then the form field ID will be field_id_basic, or if the form field is an Intercom custom attribute field, then the form field ID will be field_id_custom.