
Configuring gives you the power to customize which fields in checkout you can save to Intercom and on which field. Also, there is an option to enable or disable the actions of the plugin and how you want the new registrants to be registered (either Lead or User).
To access these settings go to WP Admin – WooCommerce – Settings – Intercom Subscription.
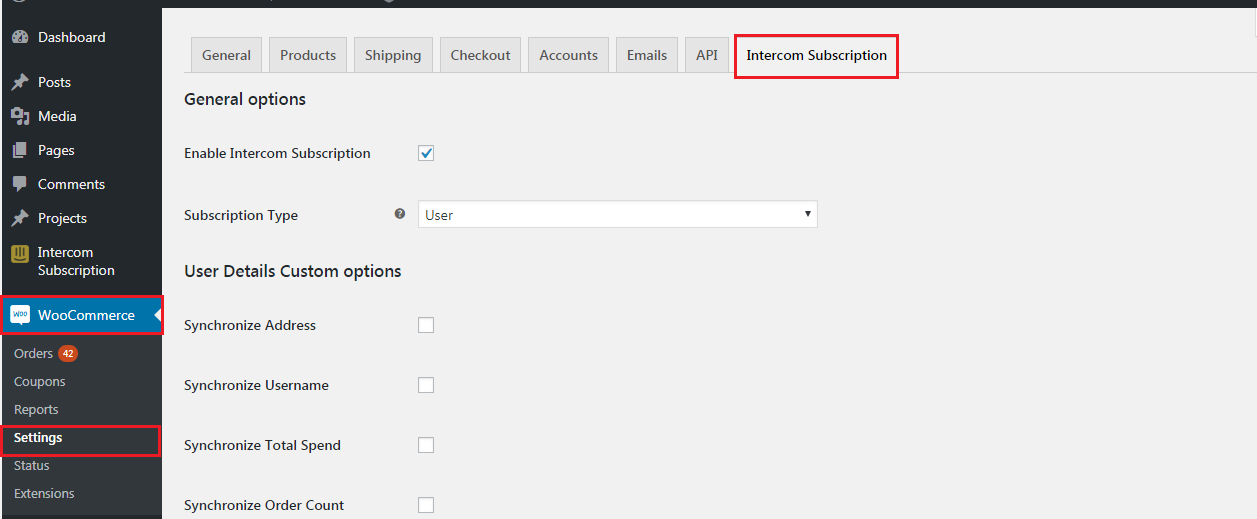
Enable Intercom Subscription: Unchecking this will disable the plugin’s functionality.
Subscription Type: You can select which type you want the new user to be of (either Lead or User).
Note: No need to mapping basic attribute like name, email, phone, location data, companies. Automatically synchronize it intercom.

User Details Custom options: You can synchronize user custom options Address, Username, Total Spend, Order Count. Check which field value you want to be synchronized into Intercom & Copy Attribute value and create new custom data filed for the user into Intercom.
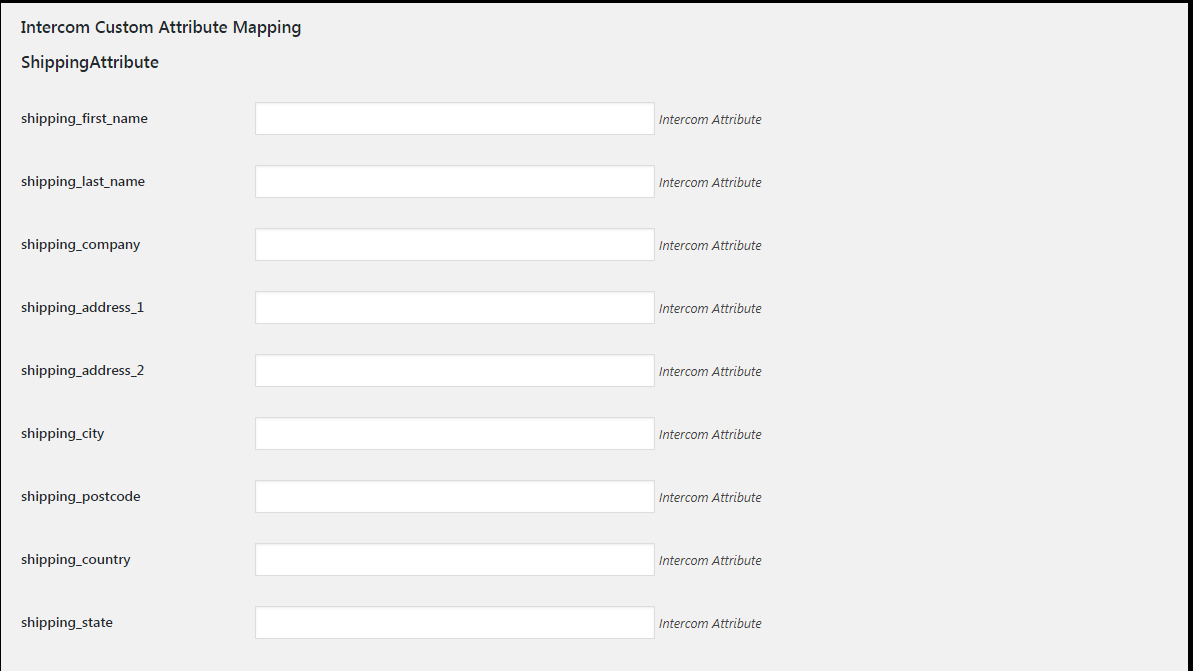
Intercom Custom Attribute Mapping: You can select which custom field value you want to be placed on which custom attribute on Intercom.
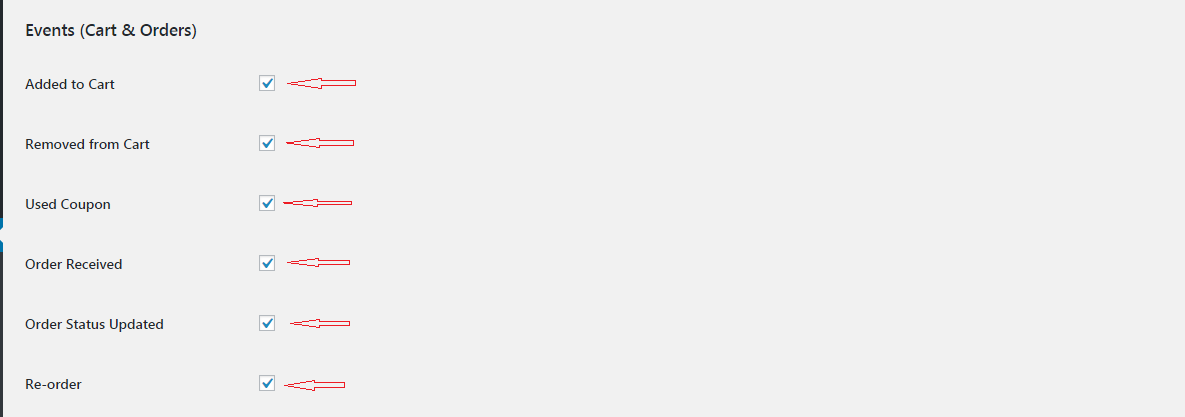
Events ( Cart & Orders): You can synchronize user Cart & Orders events Information. Check which events value you want to be synchronized into Intercom.
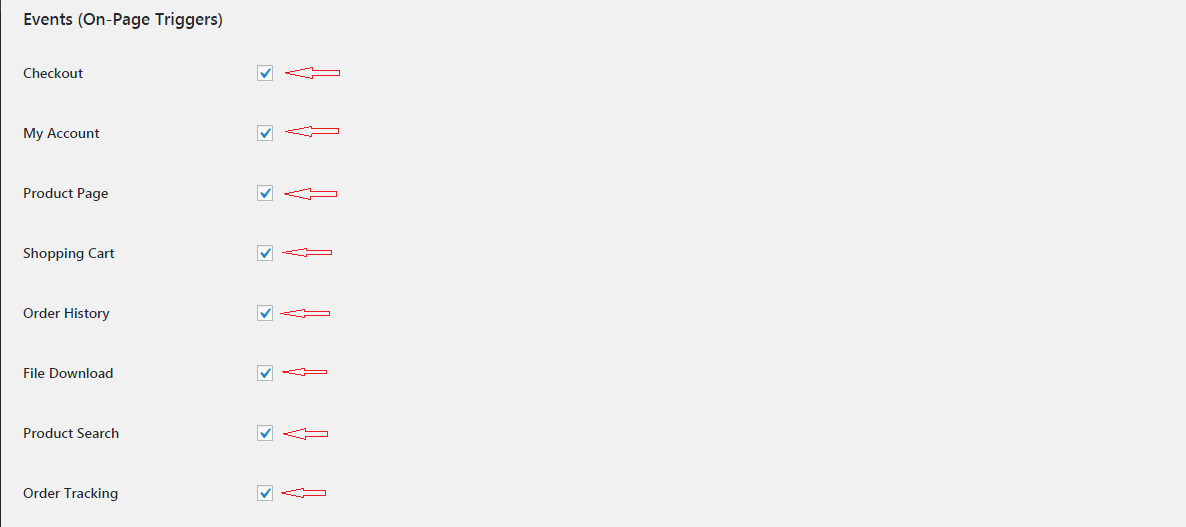
Events ( On-Page Triggers): You can synchronize user On-Page Triggers events Information. Check which events value you want to be synchronized into Intercom.
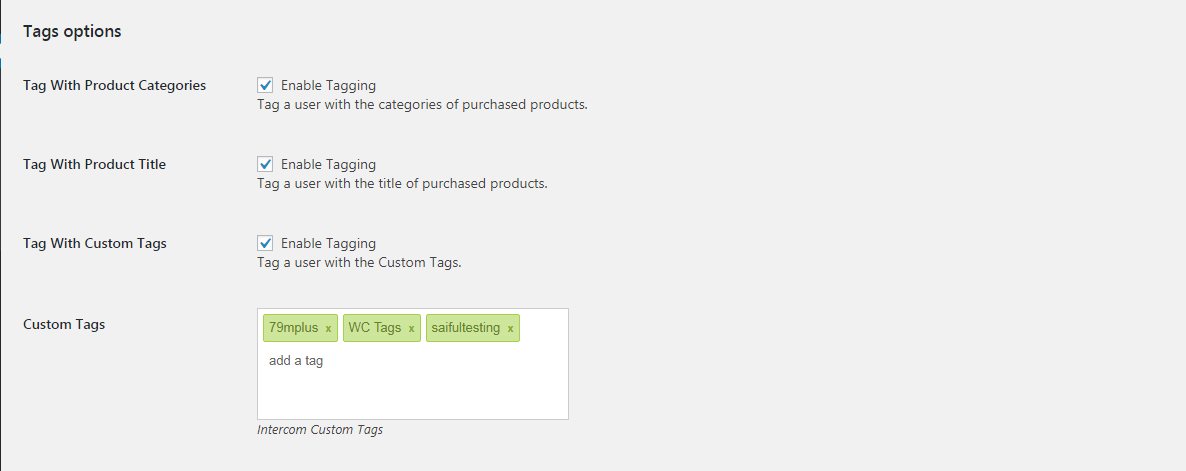
Tags: You can synchronize product title, product categories as user Tags Information. Also, you can add custom tags for the user. Check which tags value you want to be synchronized into Intercom.
After you made the changes, click Save Changes at the bottom.
If the changes are successful, you will be able to use the plugin.