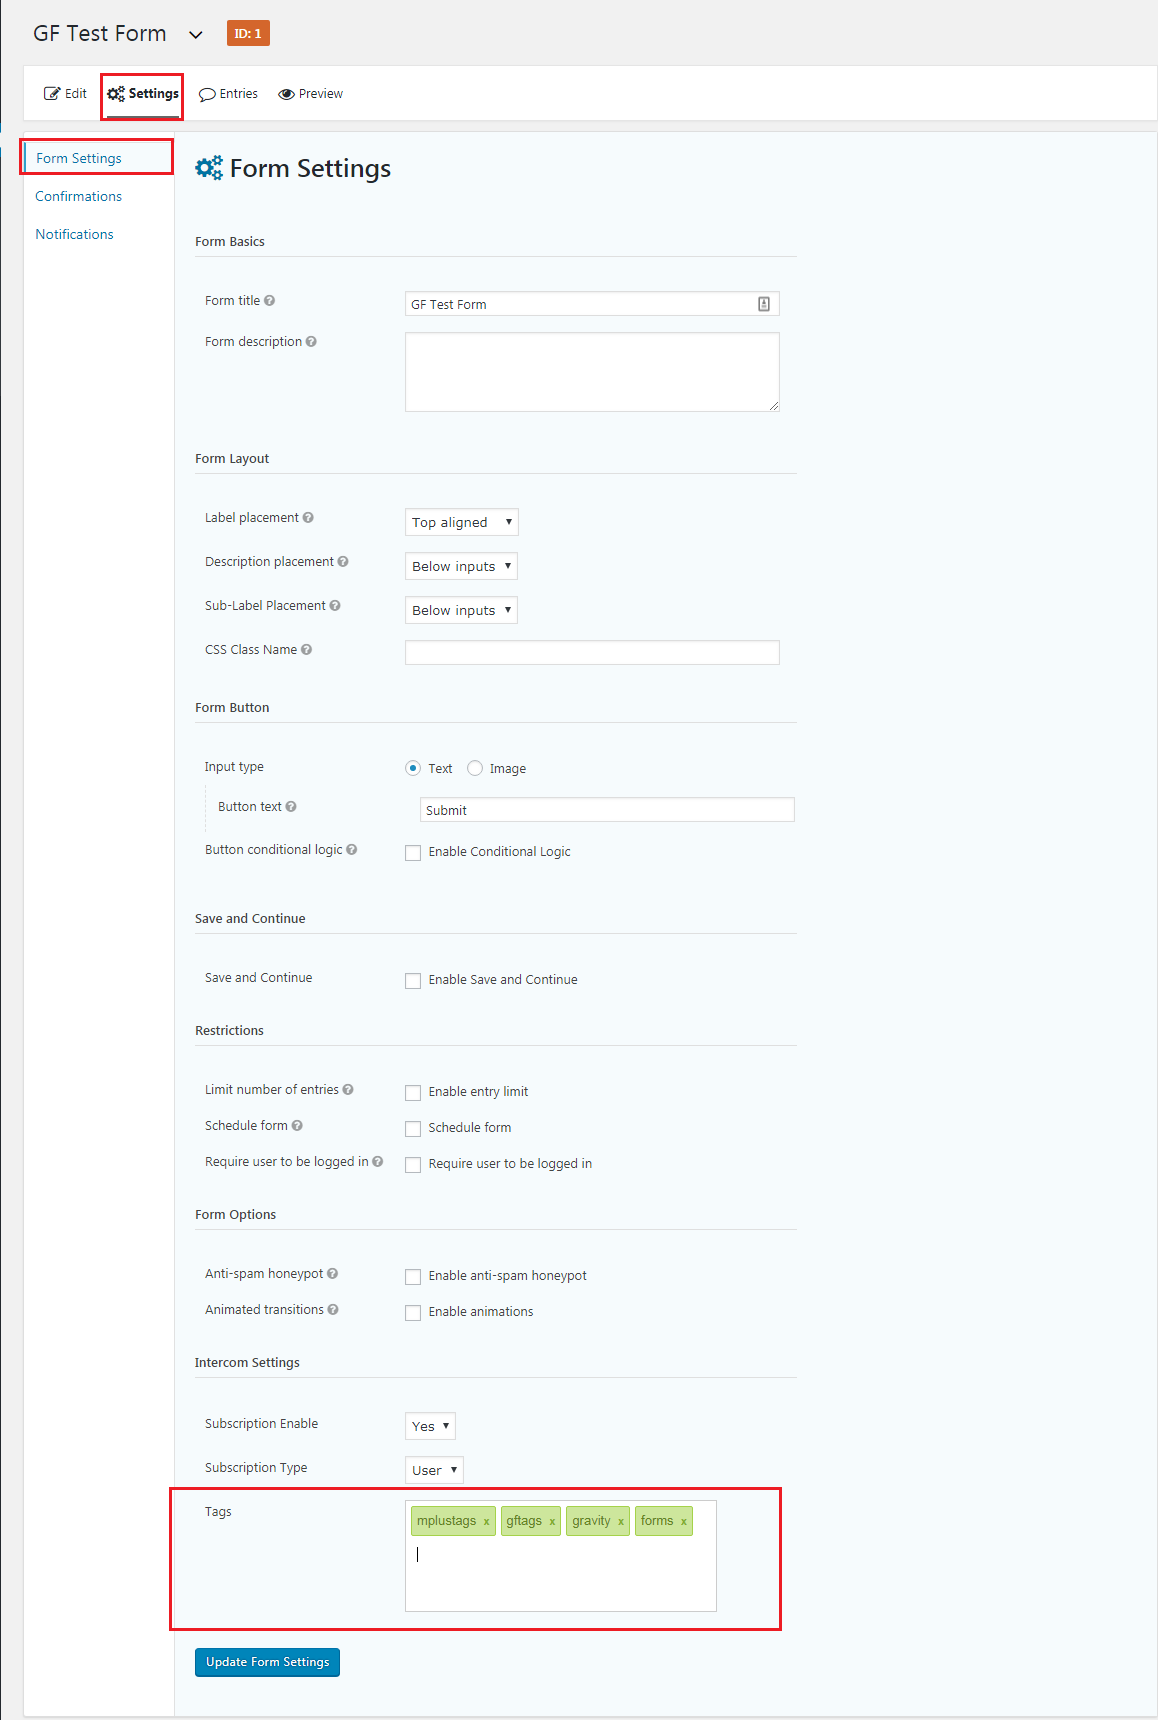
After installing addon for Gravity Form , you can configure tags for each form also.
- Go to Forms > Forms
- Create a new form or select an existing form.
- Go to Settings > Form Settings You should find a section name Tags along with a Text input field.

- Enter your custom tags on the field. You can further:
- Press either a comma (,) or Enter to separate tags.
- Press Backspace to delete the last entered tag.
- Click on the cross icon beside a tag to delete the specific tag.
- When done, click Update Form Settings at the bottom.
You should now be able to use the Tags feature with Gravity Form and let your users get listed on Intercom with the tags you saved. It is recommended to test on the frontend like a user before you offer the form to users.

